Easily run vaultwarden on your Ugreen on your tailnet (GUI based setup )
I will show you a clean and easy way to run Vaultwarden on a UGREEN NAS using Docker + Tailscale Serve, with automatic HTTPS and no reverse proxy. No https certificate to manage, no reverse proxy to configure. We will only run one command and everything else will be done using GUI so you can copy and paste
The Core Idea (TL;DR)
- Vaultwarden runs in a container in bridge mode. It runs on port 80, we forward port 8080 to port 80 of container
- ugOS keeps its own ports untouched, we only disable the redirect from port 443 to 9443 that ugos has by defult.
- Tailscale provides HTTPS on port 443 inside the tailnet. This is forwarded to vaultwarden so you get vw on fully secure https. its available only on your tailnet
- You get secure access to vw. the only change in your workflow is that you would access your UGOS not with the IP address alone now, but with IPADDRESS:9443 ( with port)
Step 1 : Get your tailnet hostname and use it in compose file
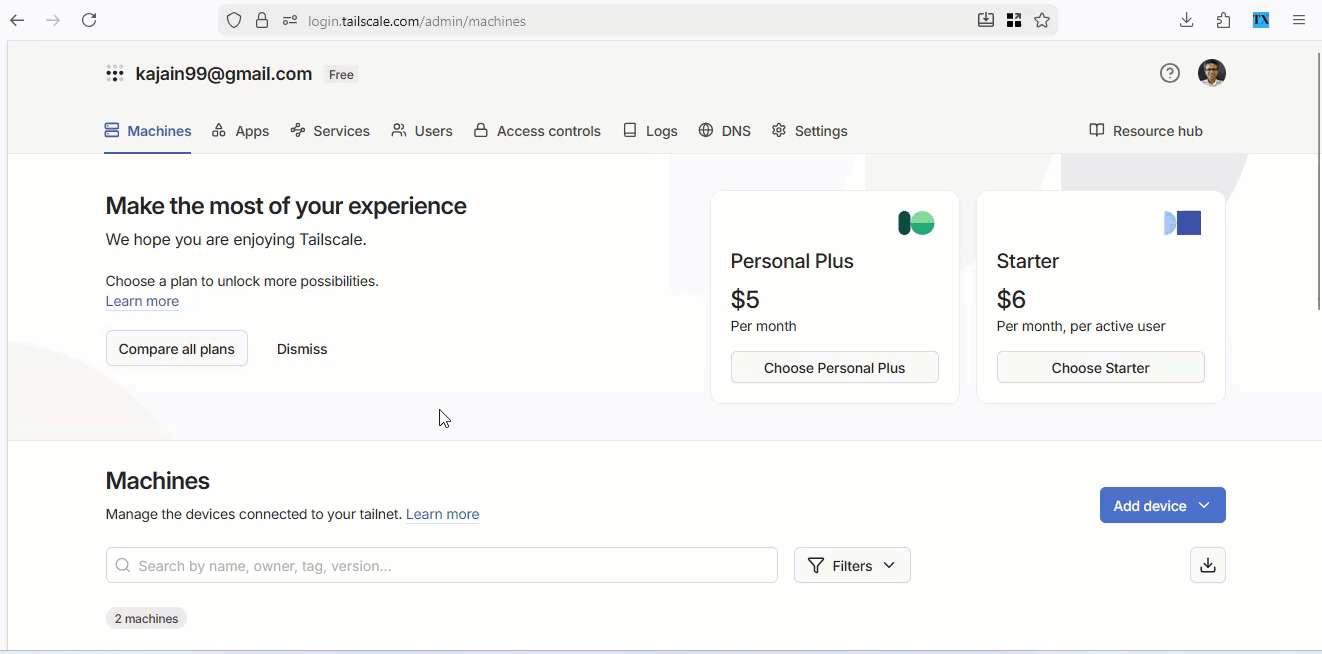
You have to make sure that tailscale is configured on ugreen already. Open the Tailscale Admin Console, click on your NAS node and note your device’s tailnet hostname. It will look something like: ugreendxp.tailsomething.ts.net . I will use https://ug.tail18a5.ts.net as example in this tutorial.
Replace the domain name in the following file with your hostname.
services:
  vaultwarden:
    image: vaultwarden/server:latest
    container_name: vaultwarden
    restart: unless-stopped

    environment:
      DOMAIN: https://ug.tail18a5.ts.net
      WEBSOCKET_ENABLED: "true"

    volumes:
      - ./vw-data:/data

    ports:

      - "8080:80" # local(http) + tailnet
      - "3012:3012" # local (http) + tailnet
Step 2: Create a new Docker project
Create a new Docker project on your UGREEN NAS using the above compose file .
Key points:
- Vaultwarden runs internally on port 80 and exposed locally on It is exposed locally on 127.0.0.1:8080
- Data is stored persistently in
/vw-datadirectory which is created inside your project folder. You can easily update VW when you want to.
Start the project and make sure the container is running.
Step 3: Disable redirect of 443 to 9443
On your UGOS, the port 443 is redirected to port 9443. you need to disable it. Also remember that once you do that you will have to access your UGOS using hostname:port. So earlier if your ipaddress took you to ugos, now you would have to use ipaddress:9443 to access it.
Step 4: Run Tailscale Serve command to forward https traffic to VaultWarden
Click on your Tailscale container, click on terminal and add a terminal. Use bin/sh here ( if this gives you bin/bash), now run
tailscale serve --bg http://127.0.0.1:8080First time, if would give you a URL that you can visit to enable serve on your account. It will also give you the option to enable tunnel which we dont need so enable only serve.
This forwards the https traffic on port 443 to Vaultwarden on port 8080.
Thats it, now you can access your services on tailnet.
VaultWarden access url: https://ug.tail18a5.ts.net
ugOS access url : https://ug.tail18a5.ts.net:9443